Control Resonant: Best Order to Tackle Quests After the Tutorial
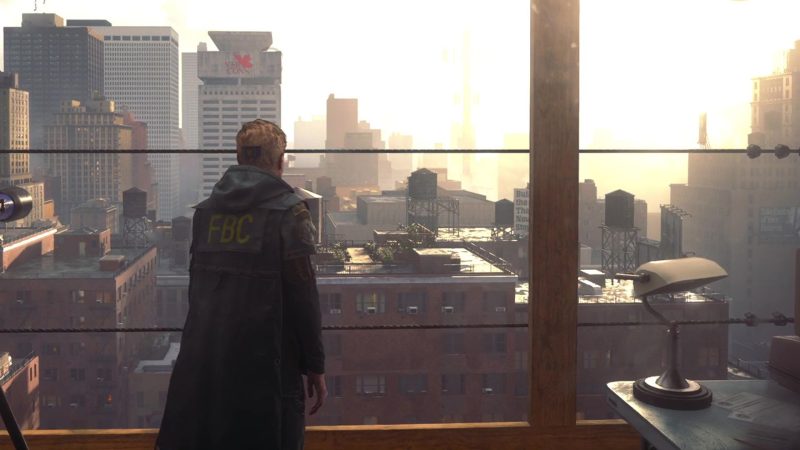
Just finished the tutorial in Control Resonant? Here's the ideal quest order to avoid getting wrecked by the Hiss and level up smoothly.
Just finished the Control Resonant tutorial and feeling a bit lost in the Watchtower? You're not alone. Zoe throws a bunch of quests at you, but if you pick the wrong ones first, the Hiss will turn you into a bruised pile on the floor. So here's the best order to tackle everything after you pass through the underground tunnel into Central.
First things first: grab the Clearance Keycard. After leaving the tunnel, you'll get an indicator to obtain one of the Control Resonant Clearance Keycards. Do that immediately—it introduces you to the main FBC Field Office, a handy hub zone. While you're there, trigger the Fast Travel Door. Trust me, you'll thank yourself later.
Next, explore Central and knock out some World Feats. These pop up as you go, and they're a great way to level up a bit before moving on. You don't want to be underpowered for what's coming.
Then, head to the West Incursion Zone. Go west from the House of Mirrors hub area to find a Fault in the Parking Garage. This grants you the Gravity Anomalies power—one of the most useful abilities in the game. After that, progress to the North section of the West Incursion Zone to the Theater Hall and battle the Dancer, another Resonant. It's a tough fight, but you'll need the experience.
Once that's done, make your way to the Evacuation Zone and head north to the Dense Patterning. There you'll find another Fault that gives you the Reach power. Still in the same area, go to the Evac Building to meet with Arish and continue the main story with 'Evacuation Procedures.'
Back in Central, head to the Patterned Factory to fight the boss within—the Deserter. Winning gives you your choice of fire powers. Finally, go to The Park in the Northeast of Central, where you'll find an area overrun by Mold. A quest triggers in the centre marked 'new Mold Strains?' that eventually leads to a boss called The Collective.
Feel free to do other side quests along the way, but this order keeps the difficulty escalating nicely. For example, the Factory gives you Dylan's pyrokinetic abilities, which are extra effective against the Mold enemies at The Park. So follow this roadmap, and you'll be well-prepared for whatever the Hiss throw at you. What do you think—will you be following this order, or do you have your own strategy? Let us know in the comments!
📰 Related Articles
Why The Board in Control Resonant Sounds Different to Every…
This design choice deepens player immersion by making The Board's dialogue personally resonant, reinforcing Remedy's reputation for innovative audio storytelling.
What the Control Resonant Cameo Means for Alan Wake Fans
The director's explanation gives fans clarity on the cameo while keeping speculation about Remedy's connected universe and a possible Alan Wake 3 alive.
What Control Resonant's Record Launch Means for Remedy's Fut…
This record launch gives Remedy a much-needed commercial win and validates its self-publishing strategy, potentially leading to more investments in the Control and Alan Wake universes.
What Control Resonant's 1M Sales Mean for Remedy's Future
This success secures Remedy's financial stability and shows that strong fan support can overcome piracy, potentially encouraging more story-driven games.
Control Resonant PS5 Pro Modes Revealed: 4K60, 4K30 Ray Tracing
Remedy details Control Resonant's PS5 and PS5 Pro performance modes, DualSense features, and a 25-35 hour campaign ahead of launch.
Control Resonant DLSS 5 Tested: Stunning Visuals, Brutal Performance Cost
A new GameGPU test force-enables leaked DLSS 5 in Control Resonant across RTX 3060 to RTX 5090, revealing massive visual gains but crippling frame rates even on flagship GPUs.